Getting That Perfect Golden Crust: A Guide to IR Heat
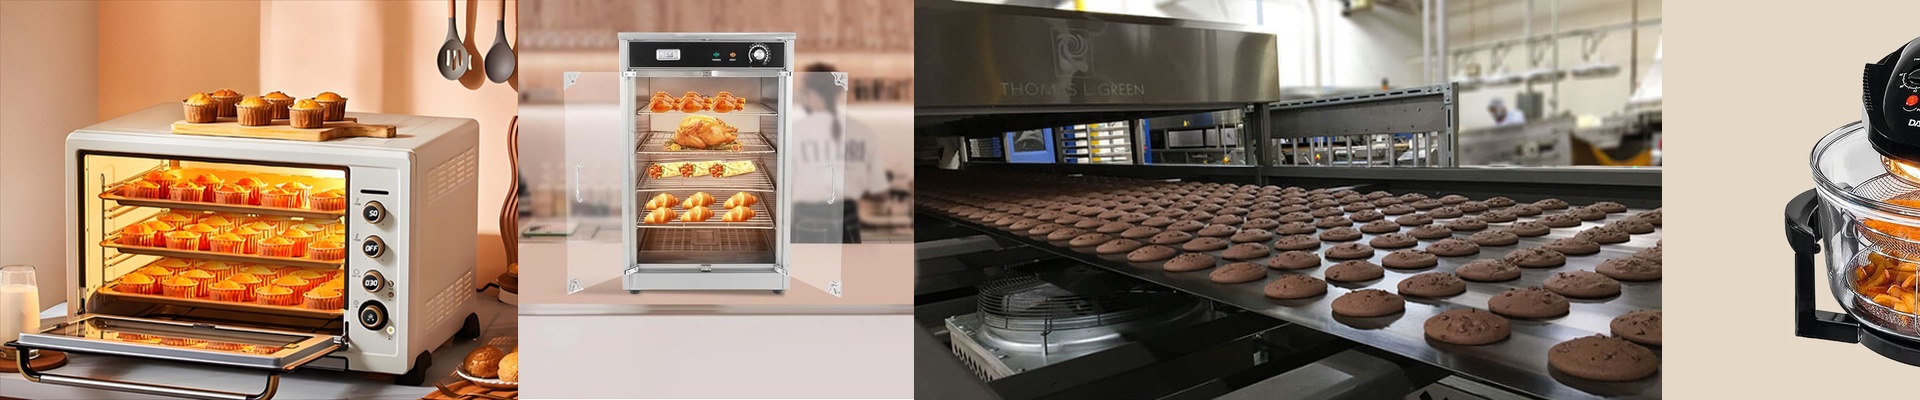
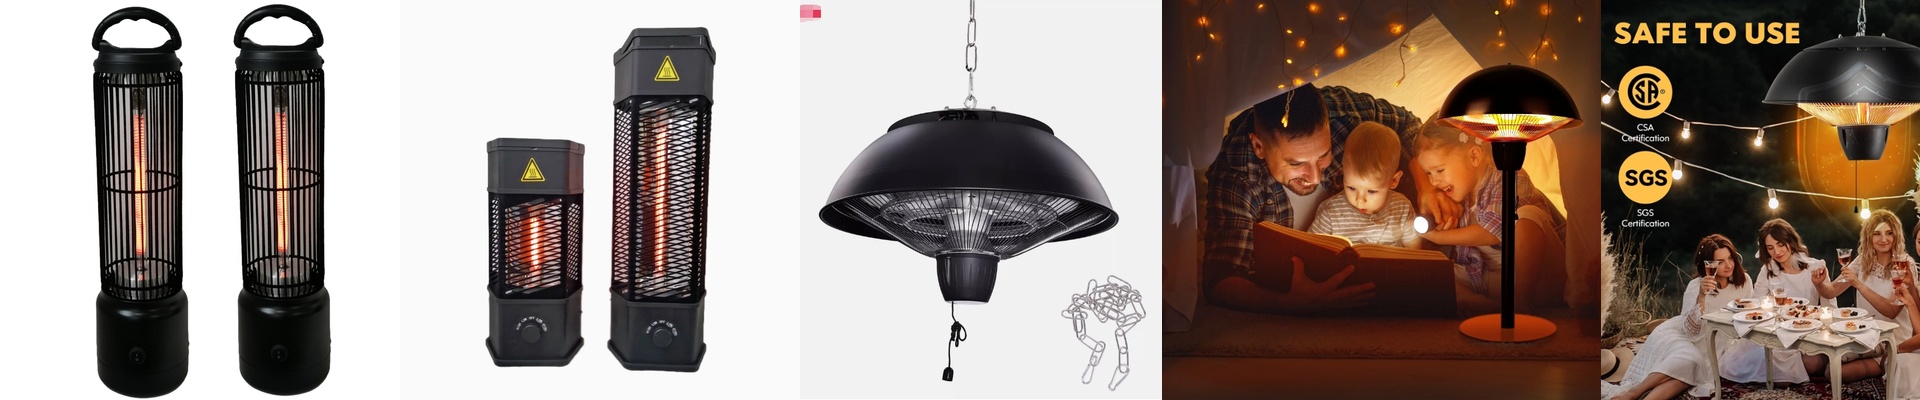
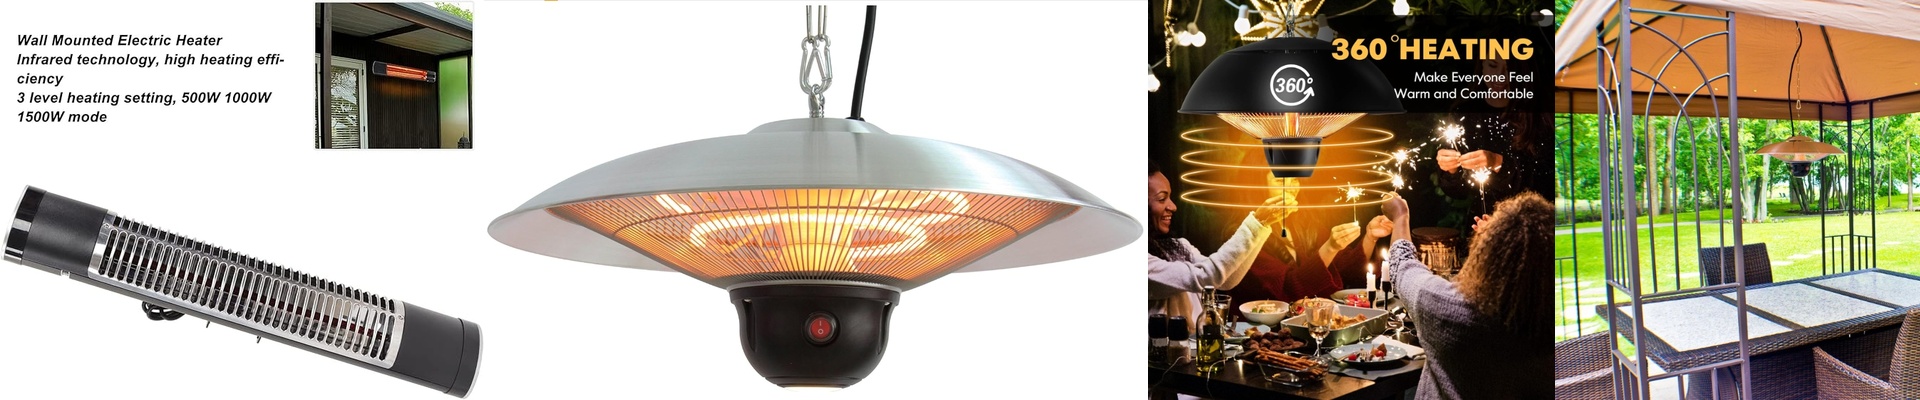
Getting that picture-perfect, golden-brown crust on artisanal bread is a bit of a balancing act. It’s not just about cranking up the heat. While the convection air does the heavy lifting for the inside of the loaf, the real magic happens on the surface. That’s where infrared (IR) heaters come in to trigger the Maillard reaction and give you that beautiful color. Finding the right intensity Here’s the thing: the wavelength matters. Short-wave IR digs too deep. For that surface glow, you want medium-wave emitters. But be careful with the wattage. If you go too heavy on the power, you’ll end up with a charred crust while the center is still raw. It’s all about matching the heat to how fast the moisture evaporates from the dough. And keep an eye on your recipe—if your dough has a lot of sugar, you’ll need to dial back the intensity so you don’t burn the bread. Built for your oven We don’t believe in “one size fits all.” We build these heaters to fit your actual oven. Need a specific length? A certain voltage to match your current power setup? We can tweak the filament winding to make it happen. Most of our units just drop right in. We can even adjust the thickness of the quartz glass. Thicker glass is tougher against thermal shock, though it does change how the heat moves through. The trade-offs High-intensity heaters are fast. Really fast. But they’re hungry for power. If you push the wattage to shave time off your bake, your control system needs to keep up with the rapid cycling. Otherwise, you’ll get “hot spots” that ruin a batch. We usually suggest pairing high-wattage tubes with a PID controller. It stops the temperature from overshooting, which means you won’t end up with scorched tops and doughy bottoms.